


DIY Teeth Whitening
I have always wanting to have my teeth HOLLYWOOD style but just now I have found my favourite option. The DIY teeth whitening!
I am currently in the process of the whitening but I am already seeing the different between now and couple of weeks ago.
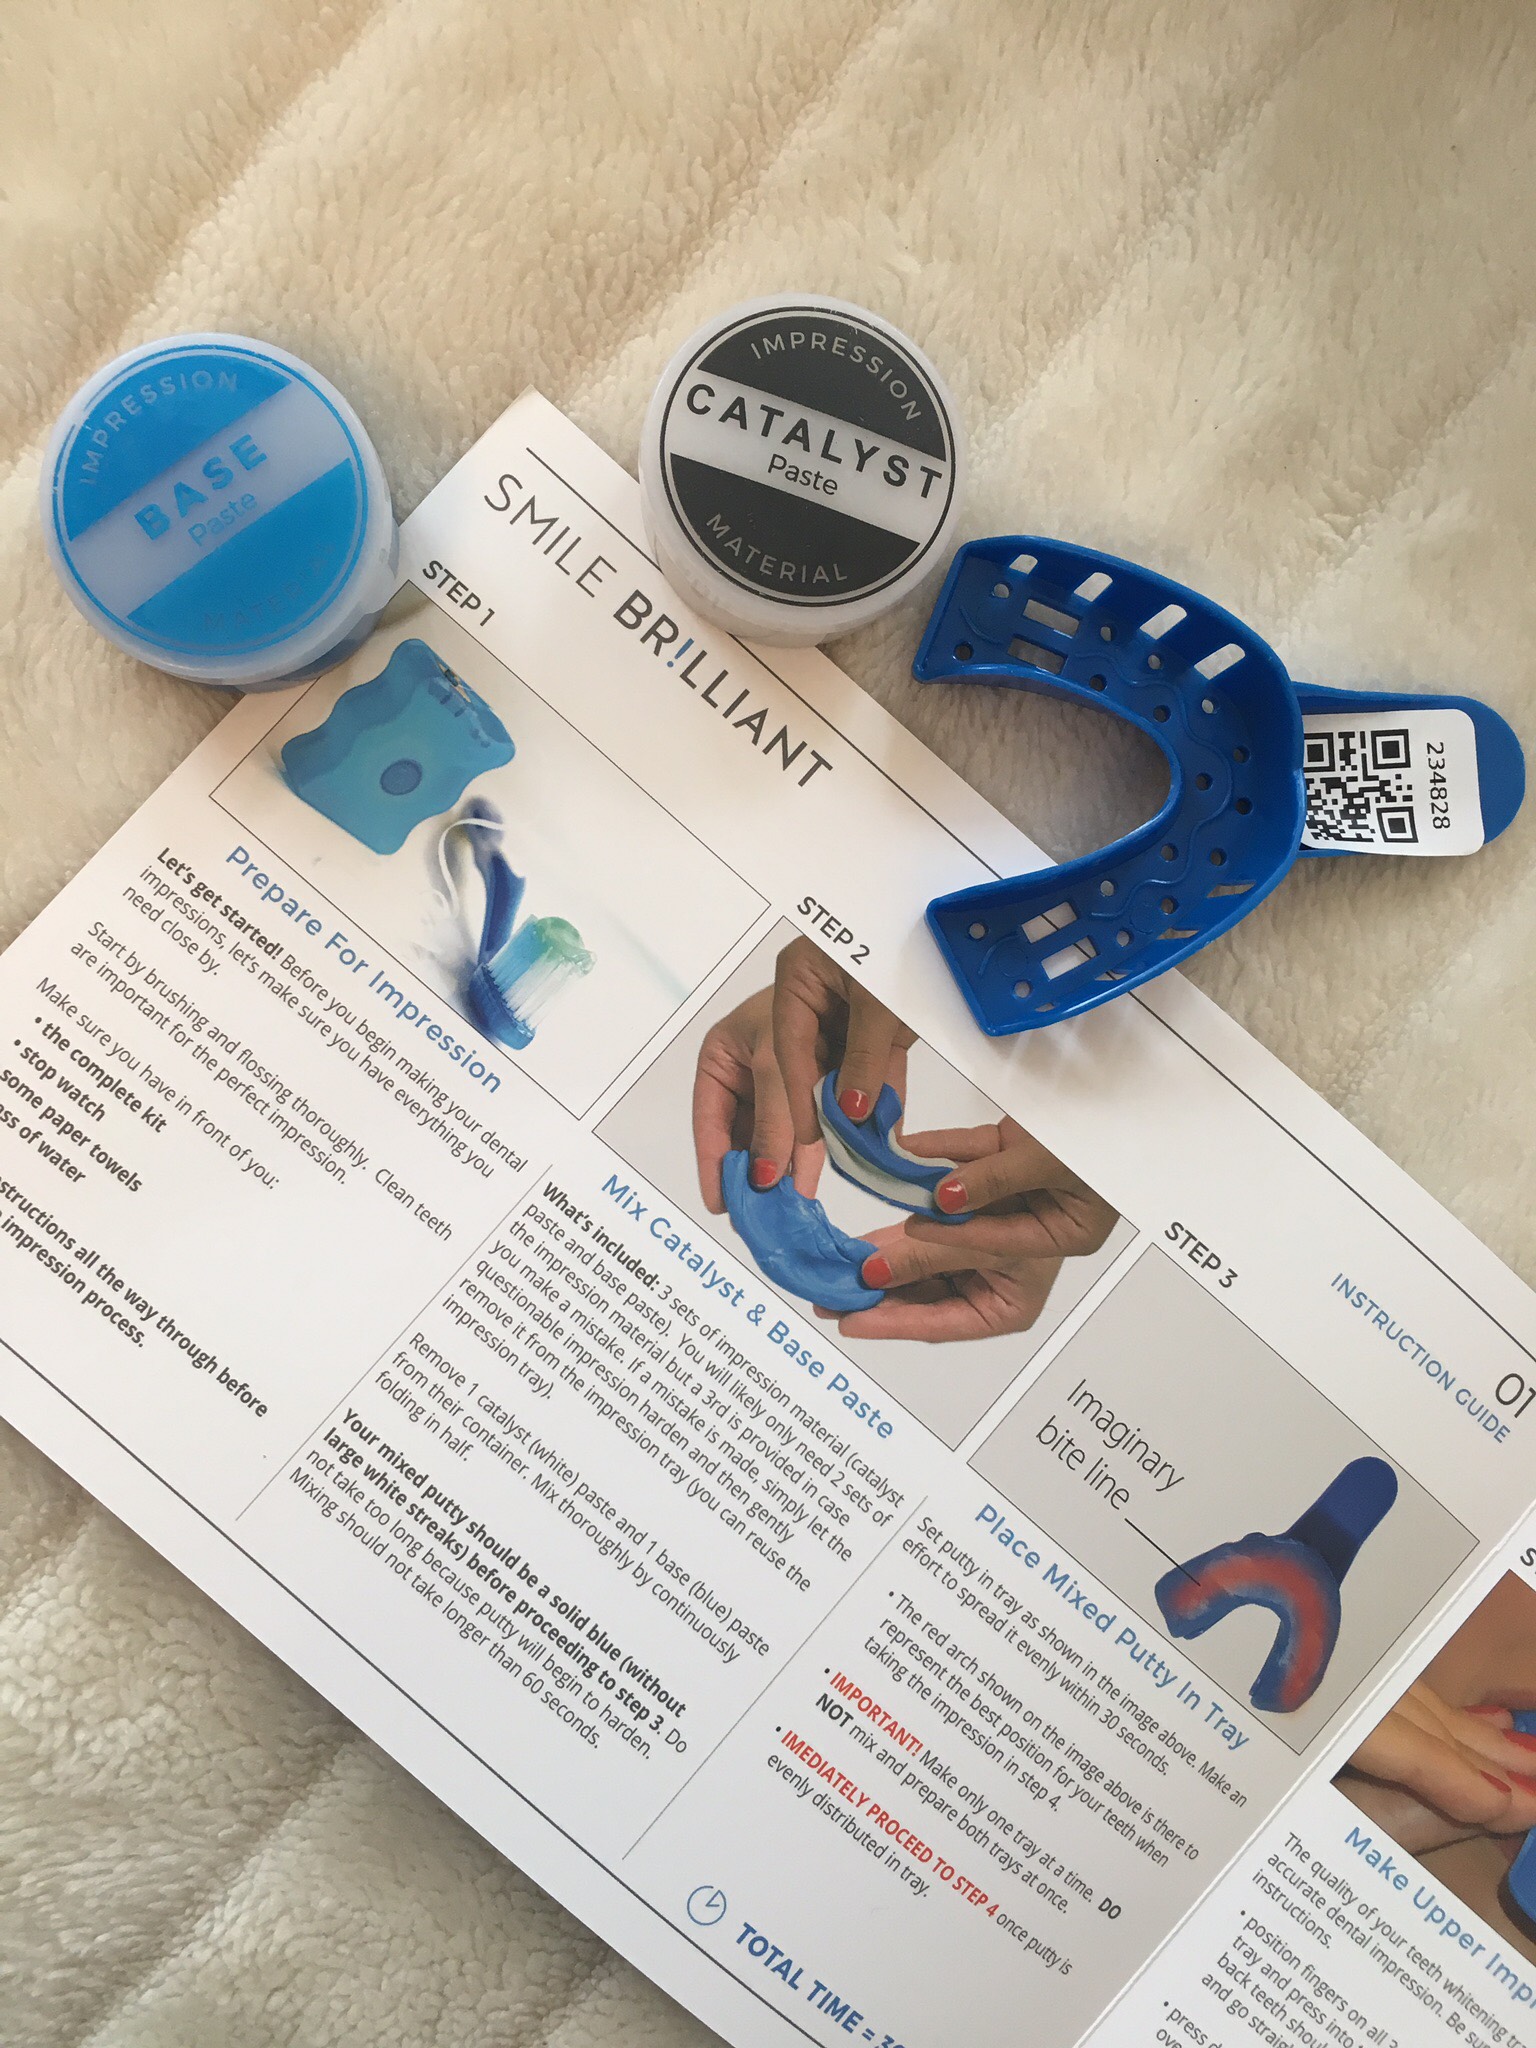
Product: SMILE BRILLIANT

HOW TO DO THE IMPRESSIONS
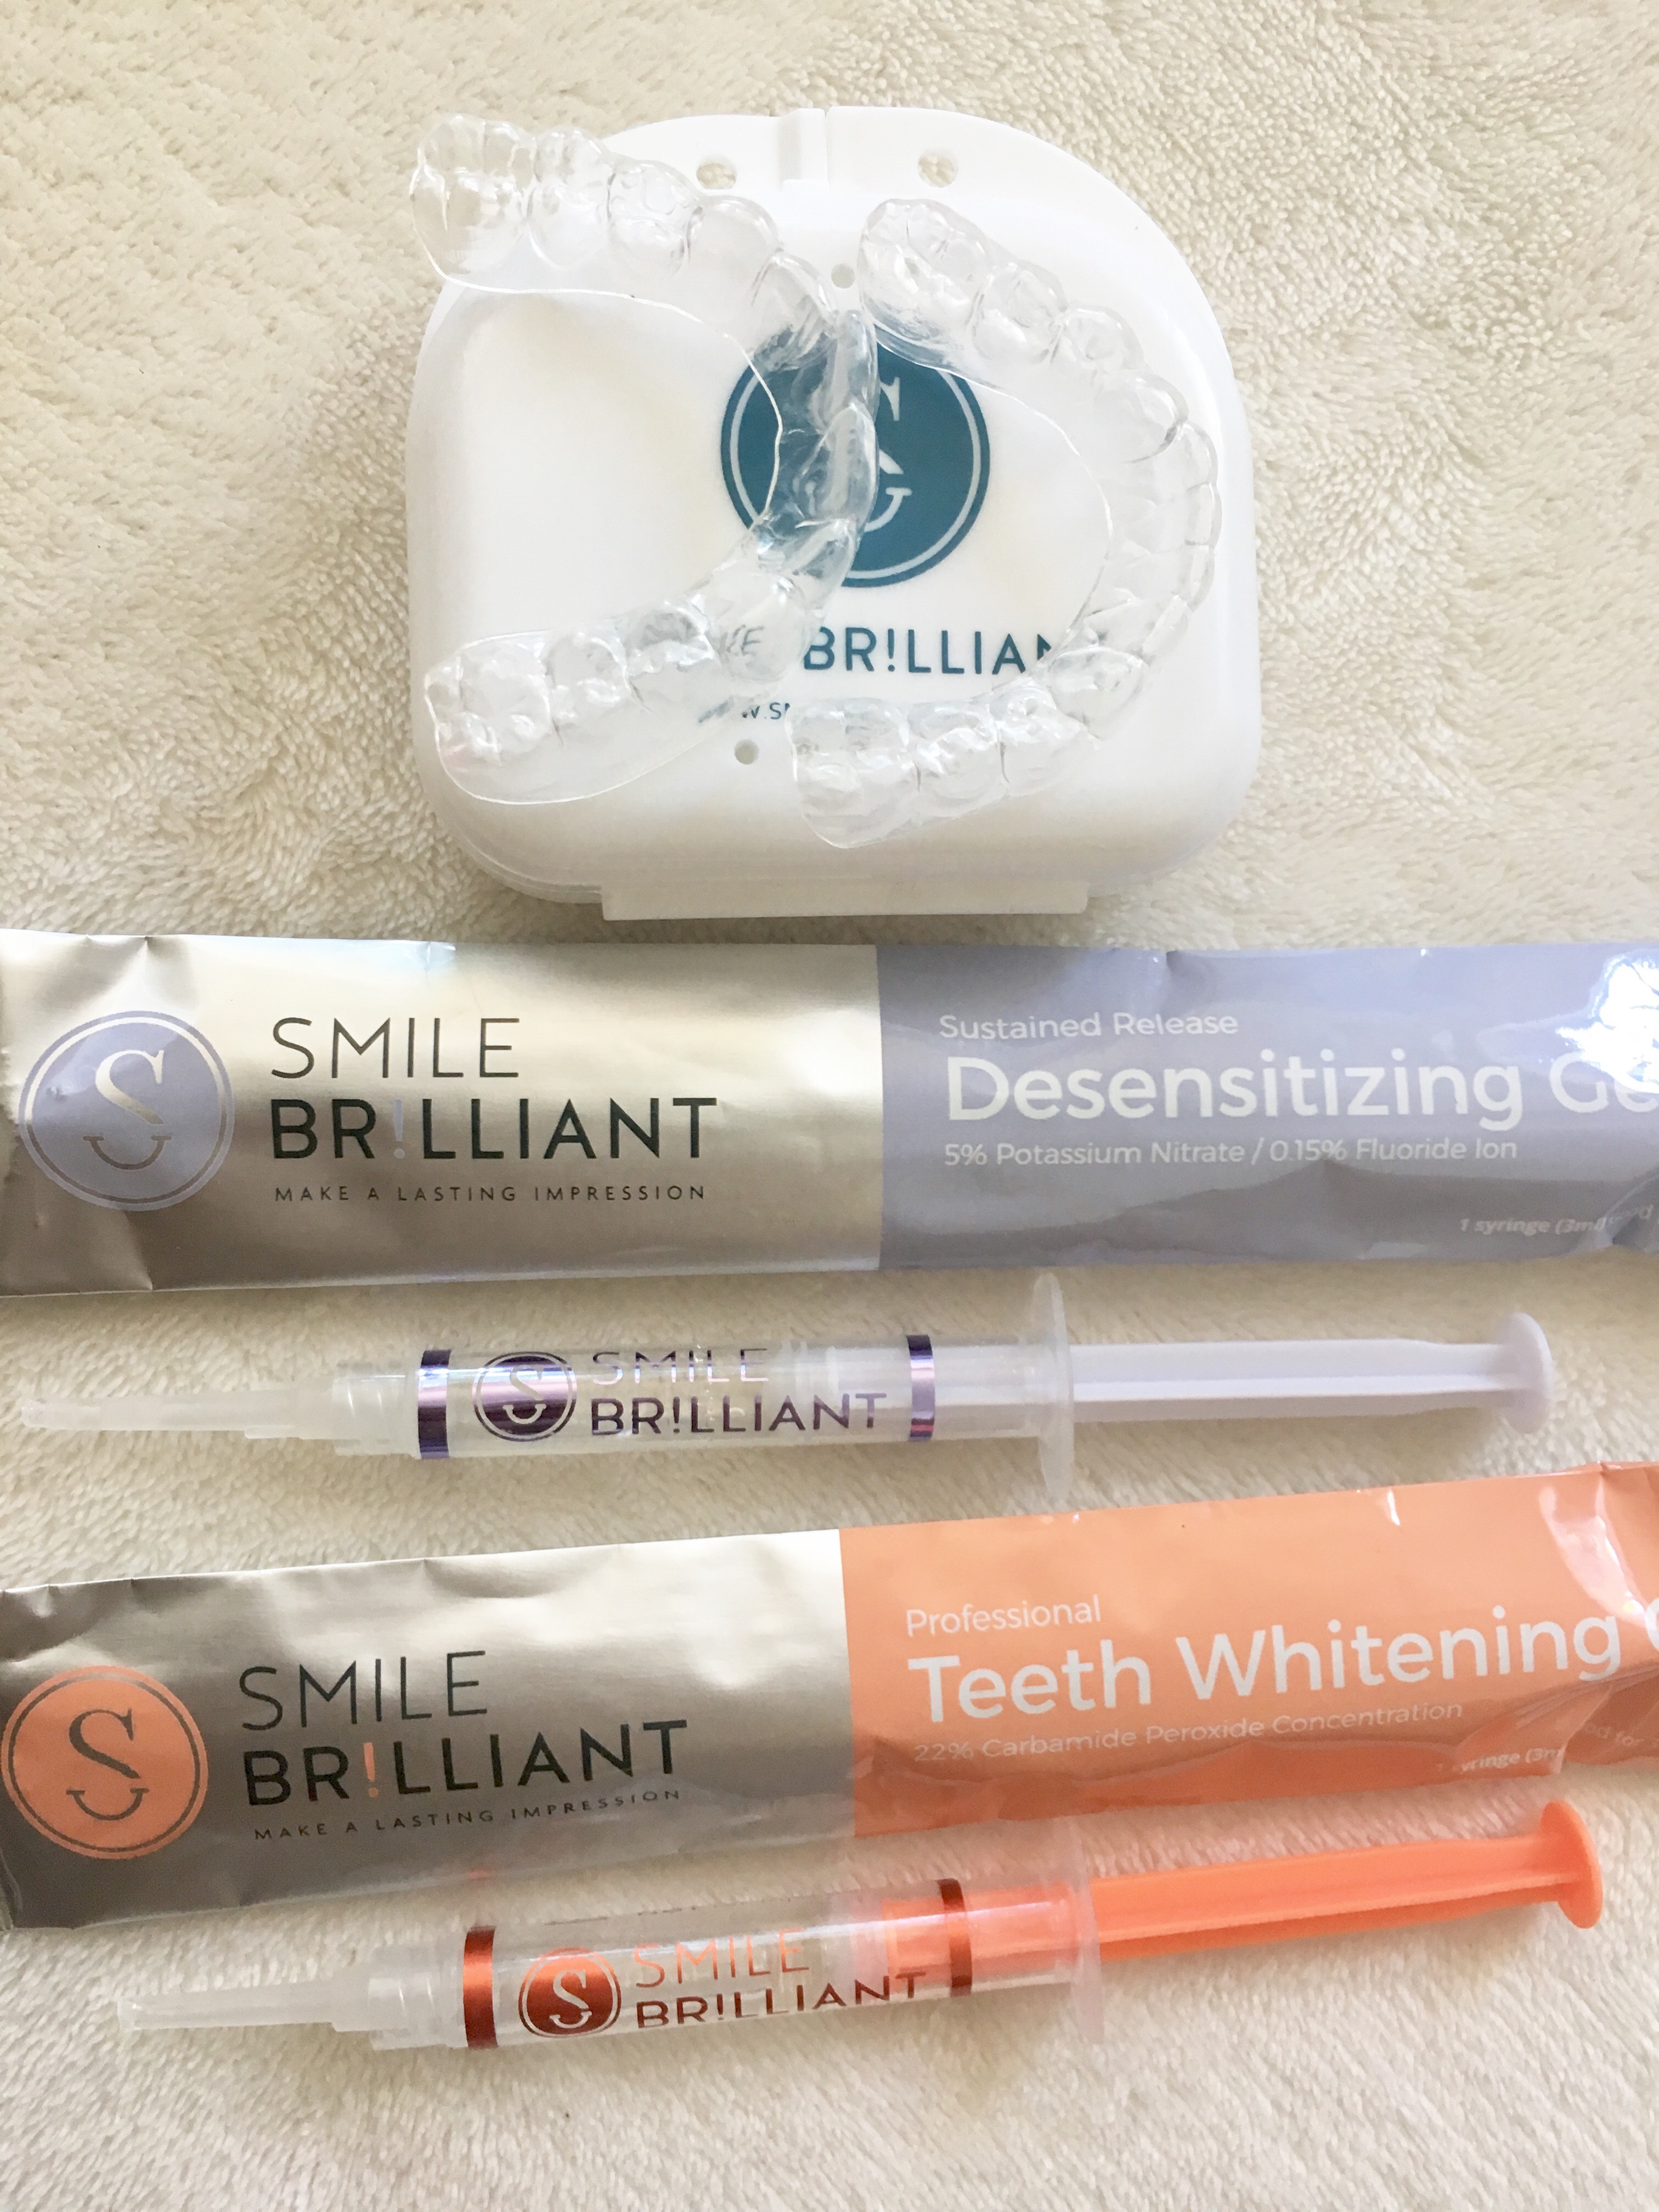
First need to have your personal teeth whitening trays created. To do this, you create molds of your upper and lower teeth in the impression trays using the catalyst and base pastes. The trays and pastes look like this:
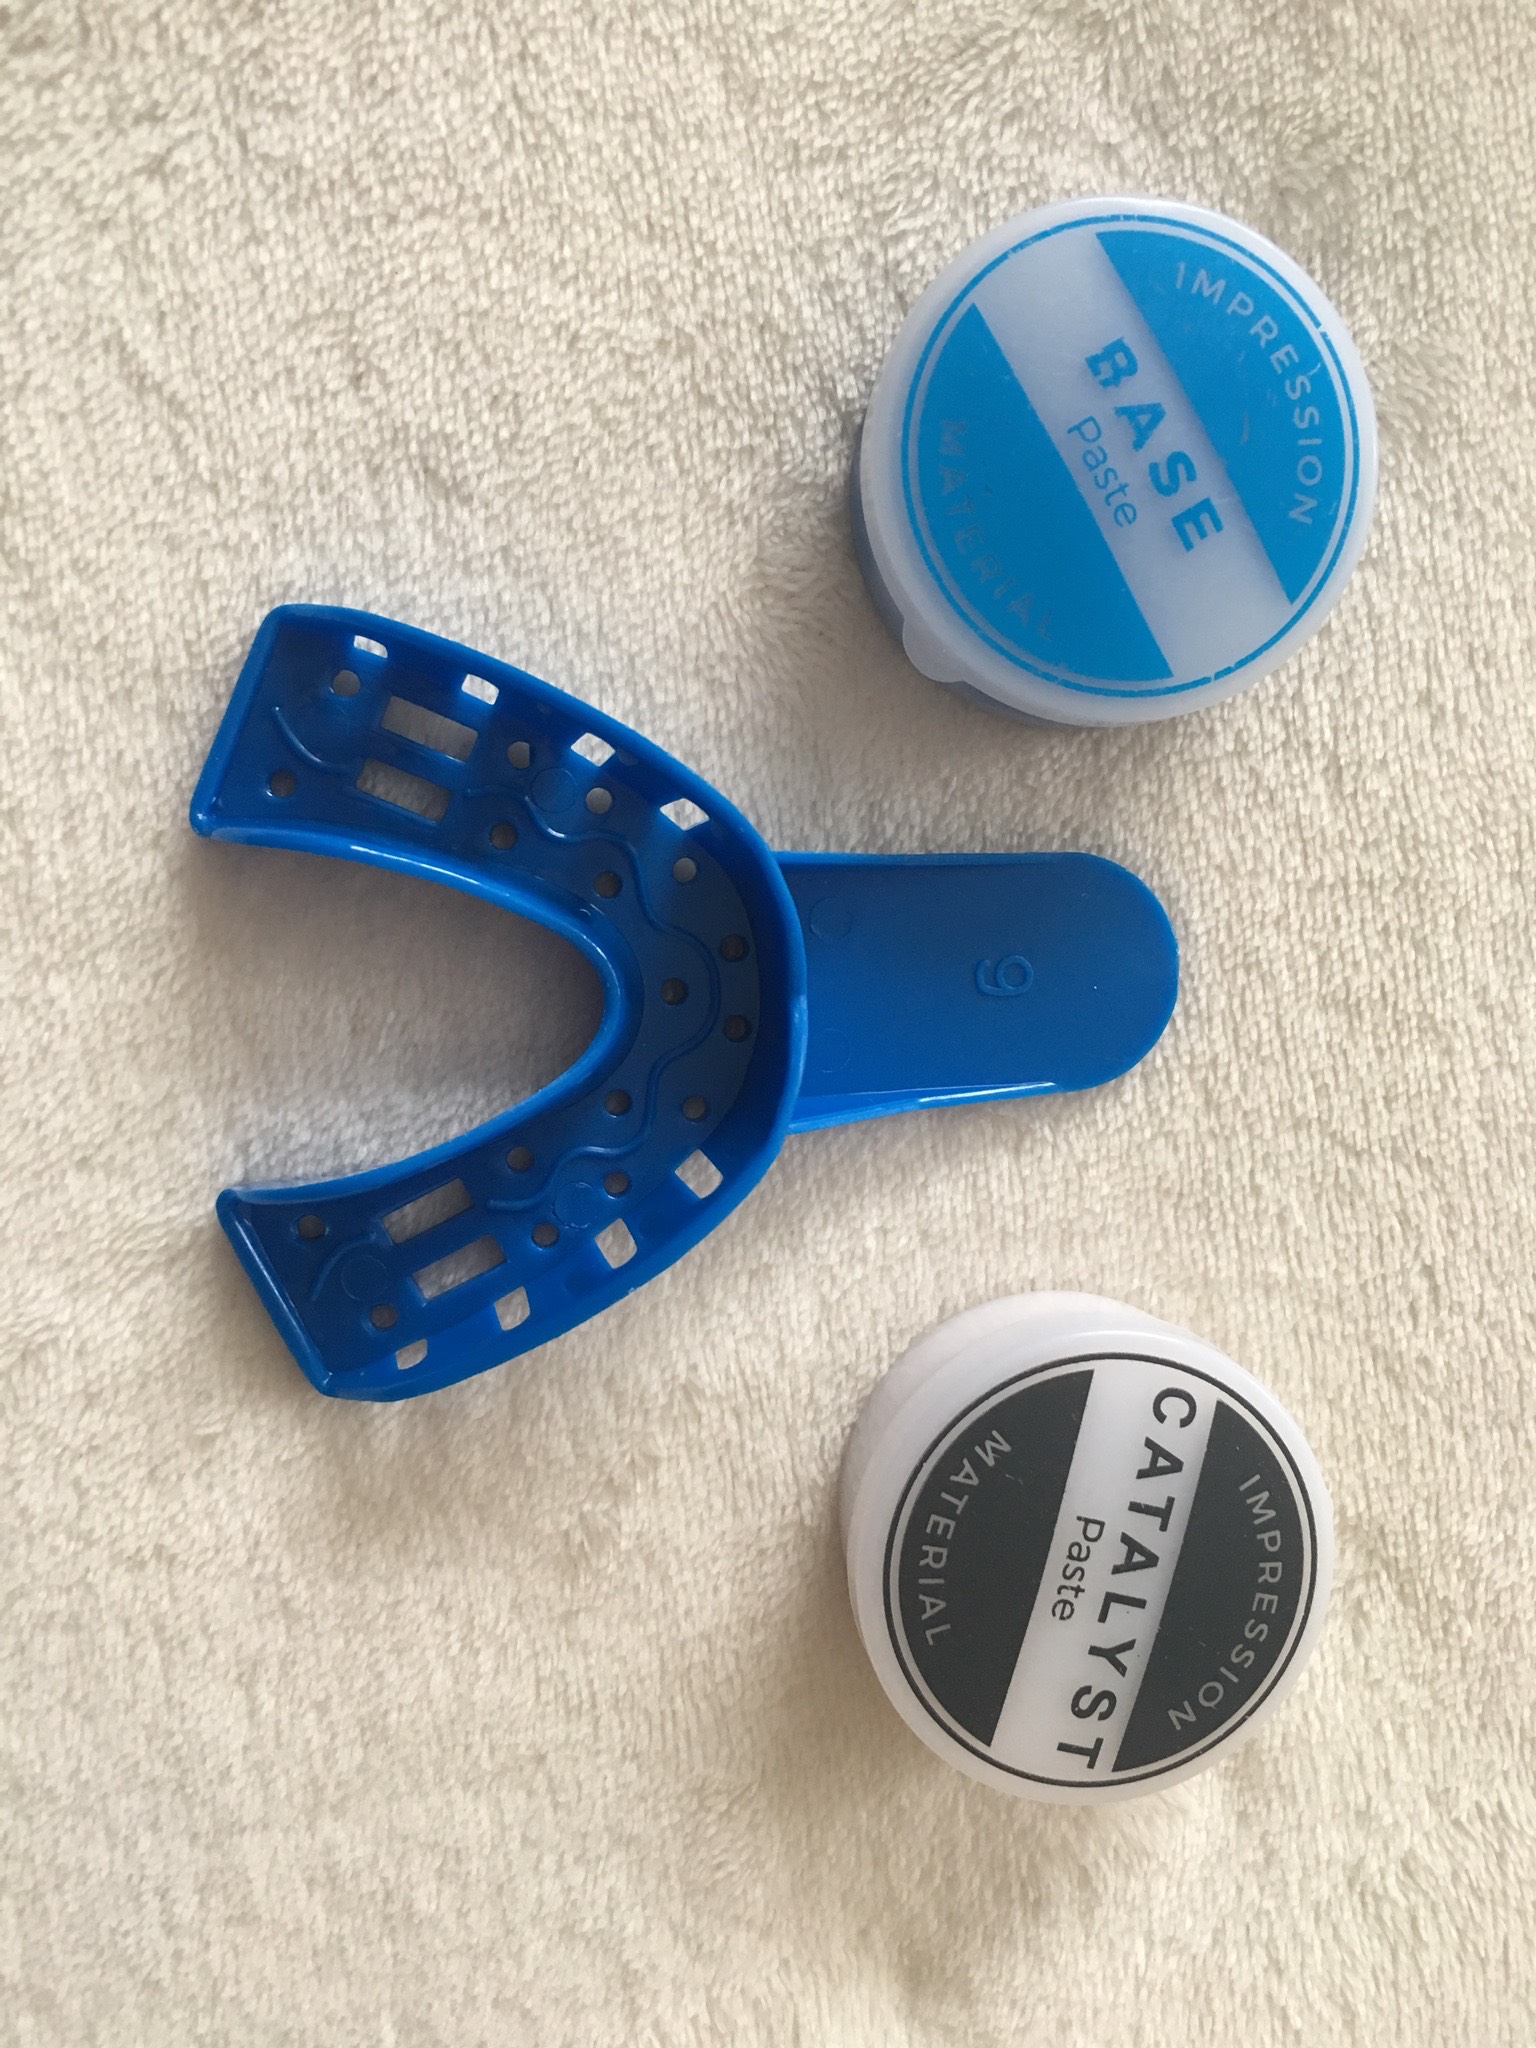
Each impression tray has a number marked on them that matches to the number on your return card. This number helps ensure that your trays are matched to your name. It’s a security measure to help ensure no mix-ups. Therefore, it is critical that you return both the trays and the cards together in the postage paid envelope.

Maybe you are thinking, how about if it goes wrong? Don’t worry about it, you are provided with an extra set of catalyst and base pastes in case you make a mistake and need to mix another batch.
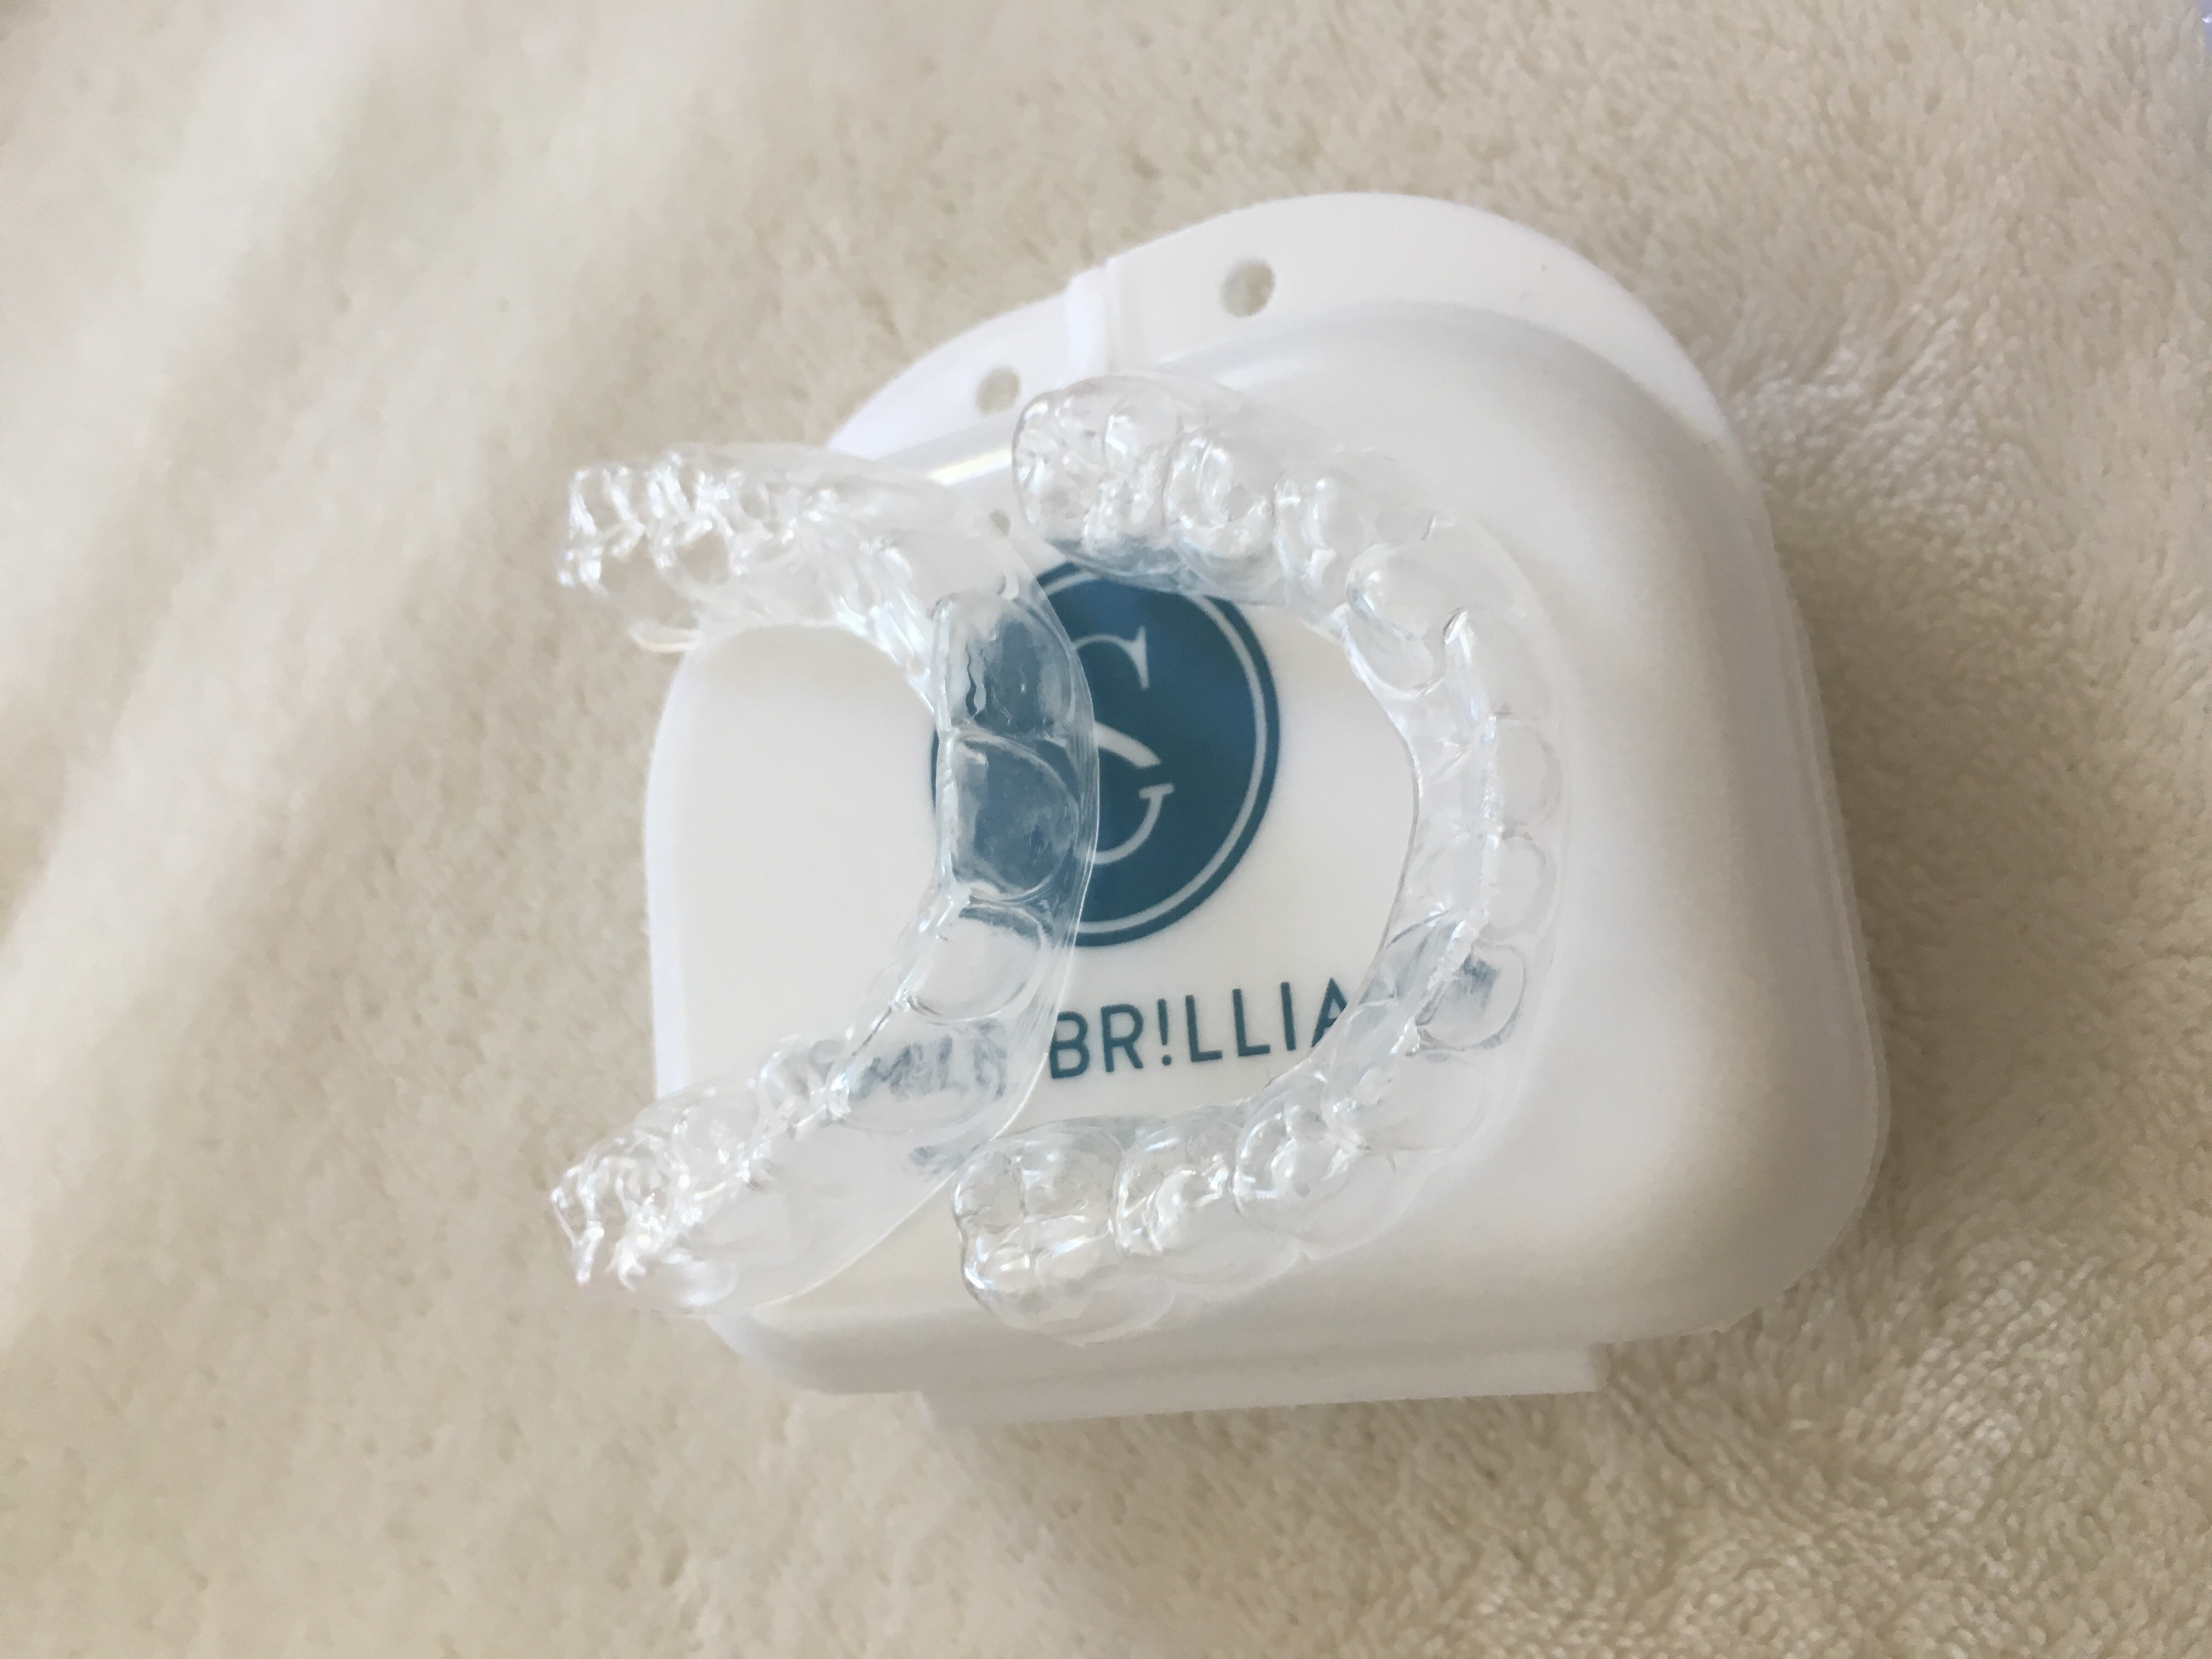
Step 1: Brush and Floss Before making your impressions, make sure your teeth are clean. This will help make the best impression of your own teeth for your whitening trays. Brush and floss immediately before beginning the process. Work with only one set of pastes and trays at a time! Begin to mix the two pastes together by folding and squeezing the pastes together. Continue folding and squeezing for exactly 1 minute. When you have completely mixed the white and blue pastes together the result will be a uniformly blue color. Like this:

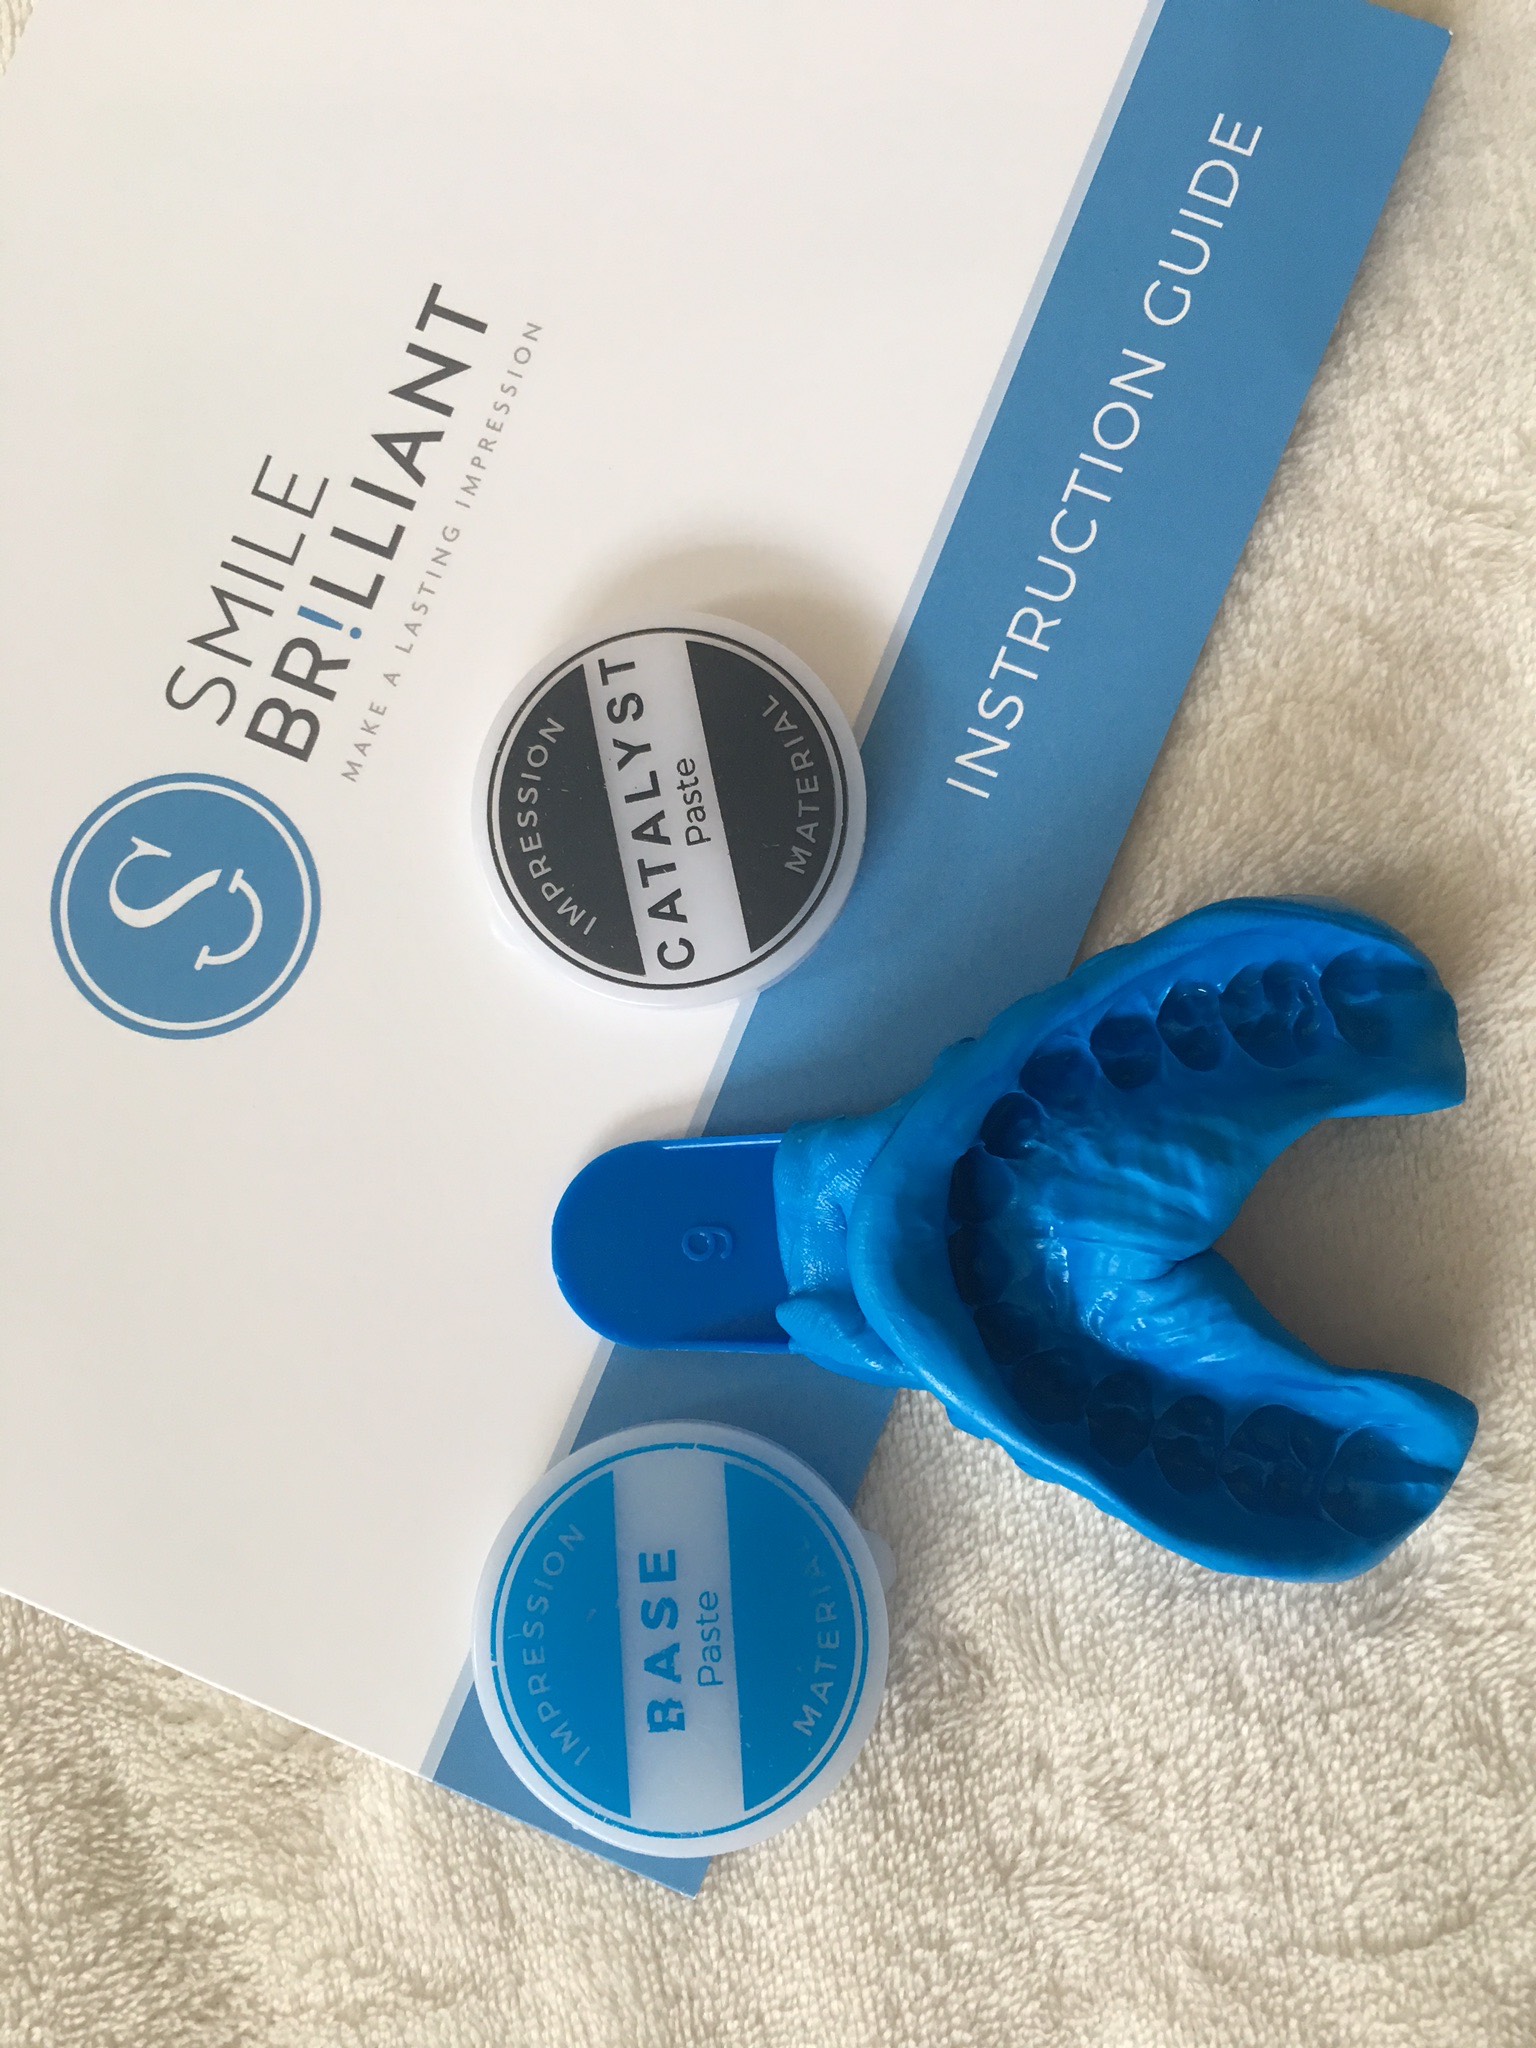
Step 2: Press the mixture into plastic impression tray. Spread it quickly and evenly throughout the tray. As soon as the putty is spread properly in the tray…
Step 3: Make Impressions of Teeth! Following Fernanda’s tips:
- Hold the impression tray with both hands. Place fingers along all points of the bottom of the tray.
- With fingertips, press trays evenly and firmly upward into your teeth.
- Press the trays into the teeth surface enough that the paste will overlap onto the gum line in the front and rear.
- Allow trays to remain on teeth for exactly 2 minutes to harden.
- Allow impressions to sit for another 10 minutes to finish hardening. Rinse with cool water. Repeat steps 2-5 with the second set of pastes and take impression of lower teeth. Then DONE and you have to just MAIL the impressions!!
DIY: TEETH WHITENING PROCESS
Step 1: Brush and floss your teeth thoroughly with no tooth brush!
Step 2: Insert the gel into the trays (not much) otherwise some excess gel may ooze out of the tops of the trays along your gum line and it can hurt a bit.
Step 3: The whitening process may be done by leaving the trays on the teeth for a period of between 20 minutes to 3 hours, depending on your tolerance and need for whitening.
Step 4: Brush your teeth with toothbrush and straight after do the same process with the desensitising gel for another 20 minutes.
Step 5: Don’t brush your teeth, leave the gel to act and don’t eat for like 3 hours. Best to do the whitening process before bedtime!
I recommend to do the whitening for like 2 weeks everyday! I really enjoyed this experience and my DIY TEETH WHITENING.
ENTER GIVEAWAY BELOW
Follow me on IG @FernandaZorzal and @SmileBrilliant to increase your chances of winning!
www.smilebrilliant.com/
Result of the giveaway on the 20/07/2017! Good Luck.
Product: SMILE BRILLIANT – BUY THE KIT.
Lots of love,
Fernanda x